
Whoa! Seriously? Hmm…
Solana transactions move fast and sometimes feel like magic. But hey, speed brings its own set of mysteries and questions. Initially I thought the network’s throughput solved every bottleneck, but then I started noticing subtle inconsistencies in how explorers displayed transaction details when congestion spiked, which made me dig deeper. My instinct said « trust the data, » though actually, wait—different explorers sometimes show different confirmation counts, timestamps, or fee breakdowns, and that mismatch matters when you’re auditing transfers or debugging a failed swap.
Seriously? I tested dozens of transactions across wallets, smart contracts, and NFTs. Some failed, some succeeded, and some sat in purgatory for a beat. On one hand a basic explorer gives you hash, block, and status, though actually deeper tools show inner instructions, token transfers, and CPI calls, which are crucial when you need to verify program behavior or trace funds across composable protocols. That difference became painfully obvious when I tried to trace a misrouted token and had to hop between UI layouts, raw RPC calls, and program logs to reconstruct what actually happened under the hood.
Picking an explorer that fits your flow
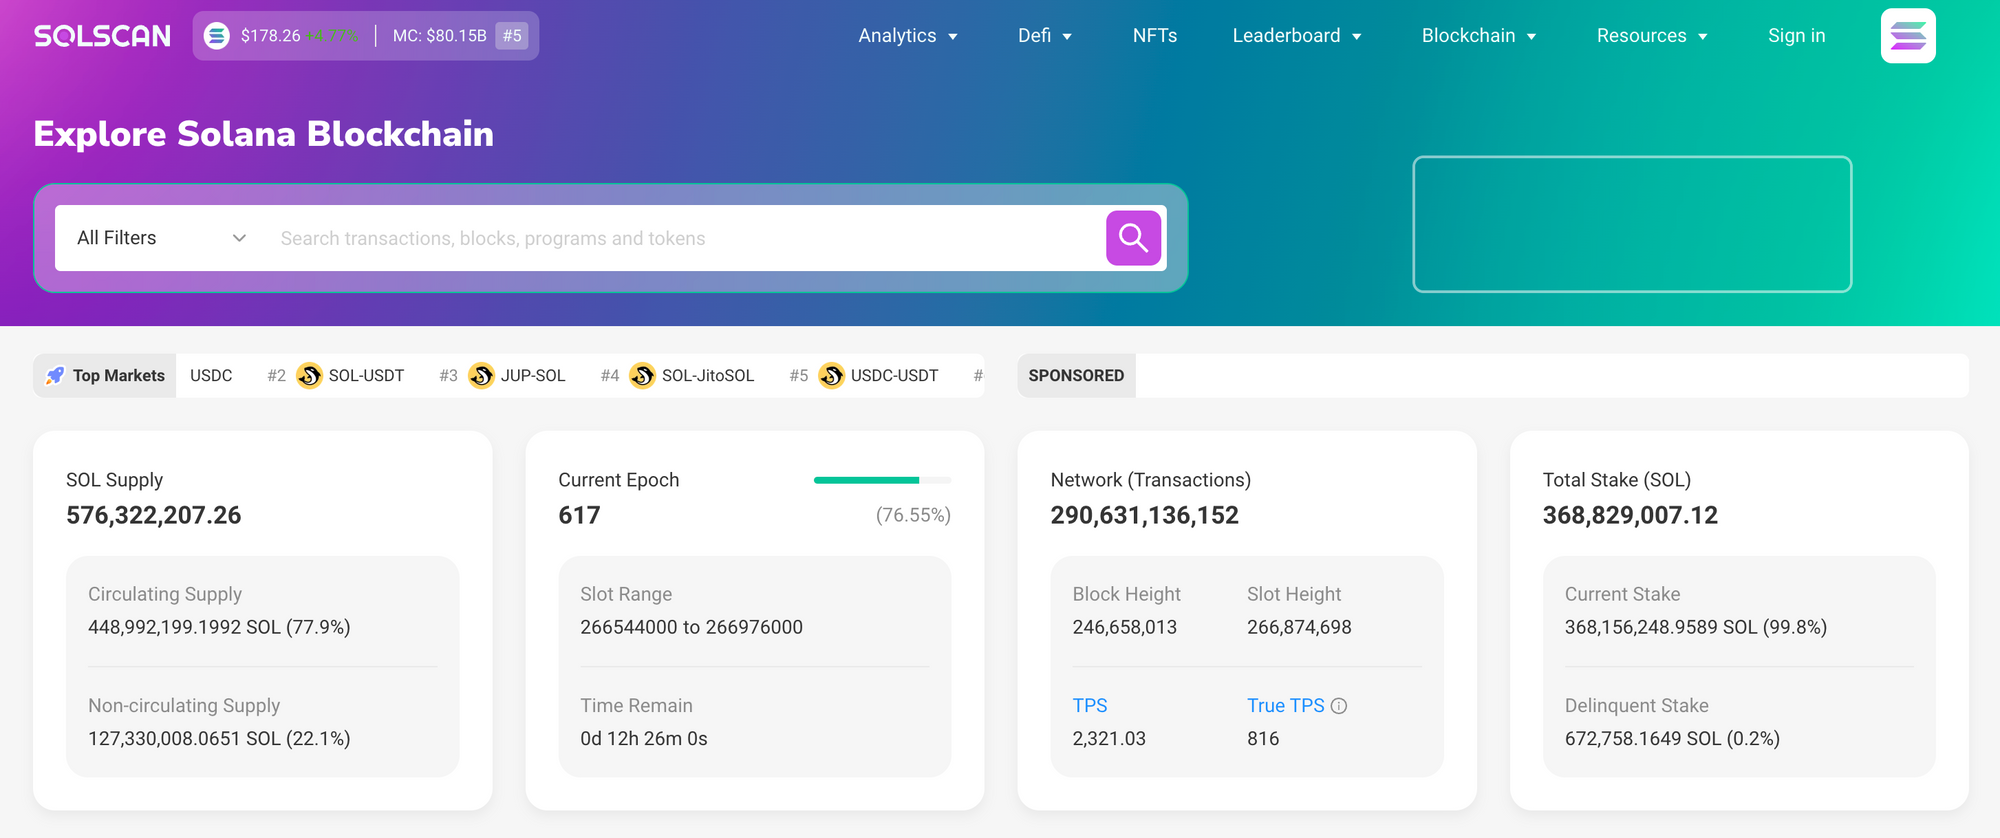
Here’s the thing. For practical work I use one explorer most of the time. It surfaces token transfers, inner instructions, and program logs without too much noise. When you want that mix of speed and depth I often rely on solscan for quick lookups and deeper traces because it balances UI clarity and raw data access, letting you jump from a friendly transaction summary to granular log parsing in a few clicks. That workflow saved me hours when tracking an odd token burn event and made it easier to assemble evidence for a developer bug report.
I’m not 100% sure, but no tool is perfect and each has tradeoffs in UX and RPC reliability. Sometimes explorers cache results; sometimes they pull directly from RPC nodes. That means if you suspect stale data you should query a trusted RPC node or two, compare signatures and logs, and—if needed—pull the raw transaction bytes for offline decoding to make sure the UI didn’t hide a crucial step. Initially I thought a single verified explorer would be enough, but then realized redundancy matters when you’re reconciling funds across wallets and need a defensible audit trail.
Something felt off about that. Pro tips: keep a small toolkit of explorers and RPC endpoints. Bookmark fast search for quick checks and heavy tools for forensic work. Also, learn to read program logs and memos; those fields often contain human-intended markers or transfer metadata that token standards don’t always enforce, so they can be the only trail left when something goes sideways. On one audit I reconstructed a split transfer by matching memo tags across six transactions and that micro-pattern was the only reliable correlation, so small habits pay off.
I’ll be honest. This part bugs me: explorer UIs sometimes feel inconsistent. Developers often add features without documenting how new fields are derived. So when a transaction shows « parsed » vs « raw » data, check both, because parsed views can omit low-level events that only raw logs reveal, and those omissions have cost me debugging time and credibility more than once. My instinct said « assume parsed output is correct, » though actually I now treat parsed views as a convenience layer and always validate against raw program logs before making claims in a post-mortem.
Oh, and by the way… If you’re building a dApp, embed links to explorers for each notable transaction. It helps users trust operations and gives support teams a quick investigation path. Automate the link generation so users see direct references to transaction evidence, slot numbers, and program IDs, which reduces back-and-forth and lowers friction when validating actions or filing trouble tickets. That pattern also helps when regulators or auditors ask for proofs, because a clean chain of links and logs makes reconciliation straightforward instead of a multi-day scavenger hunt through chat logs and wallet exports.
Really? One last thing: check the explorer’s API options first. Programmatic access lets you build alerts and reproduce searches. I set up a webhook that notifies me on high-fee spikes and another that saves a JSON snapshot of contentious transactions, which streamlined incident response by giving me a reproducible state to investigate. So, balance UI speed with API depth depending on your role—traders want instant summaries; devs and auditors require detailed logs and exportable traces to do their jobs well.
FAQ — Quick hits.
Which explorer should I trust?
Pick explorers that provide both parsed and raw views. Prioritize those with reliable RPC access and exportable APIs. If you need to pick one for daily use, choose the one that matches your workflow and that offers raw logs, token traces, and program inspection so your assertions are defensible during audits or incident reviews.
How do I verify a transaction?
Start with the transaction signature, then confirm the slot and block time. Compare parsed outputs with raw program logs and token transfers. If anything seems odd, fetch the raw transaction bytes from a trusted RPC node, decode the instructions offline, and reconcile state changes across related accounts to build a complete, auditable narrative of what the programs actually did. That process is a little tedious, but it’s reliable.
